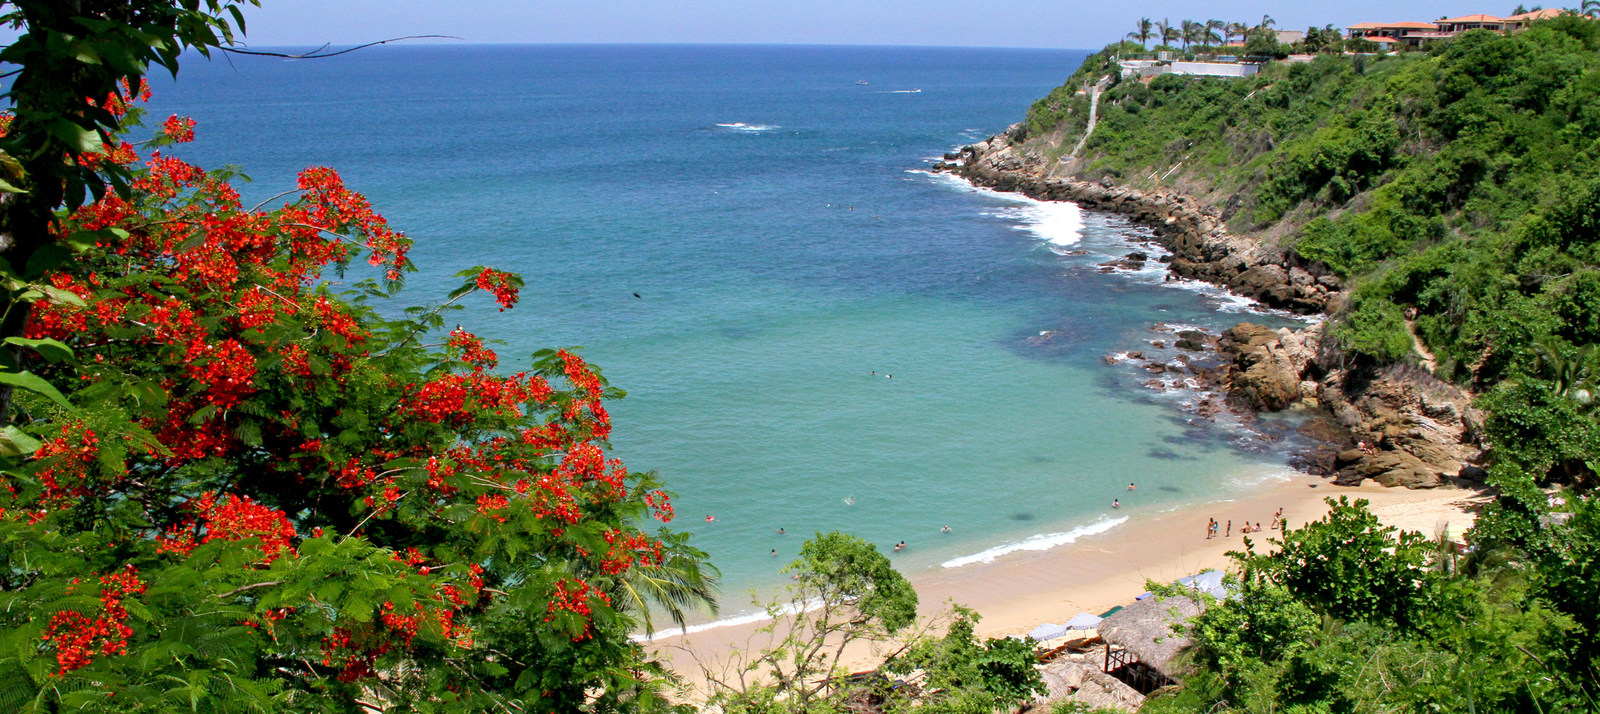
How to Find Seashells and Sand Dollars on Playa Palmarito
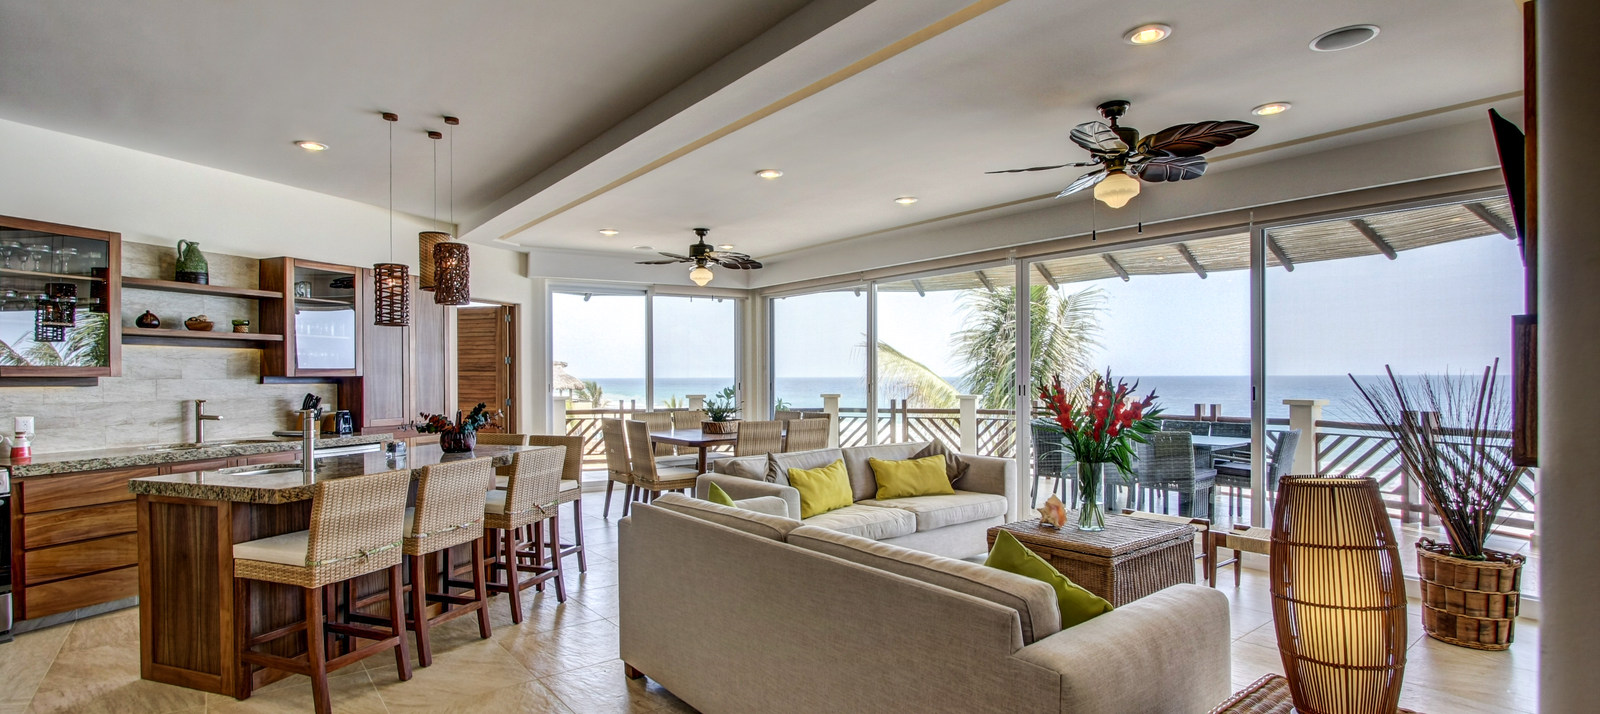
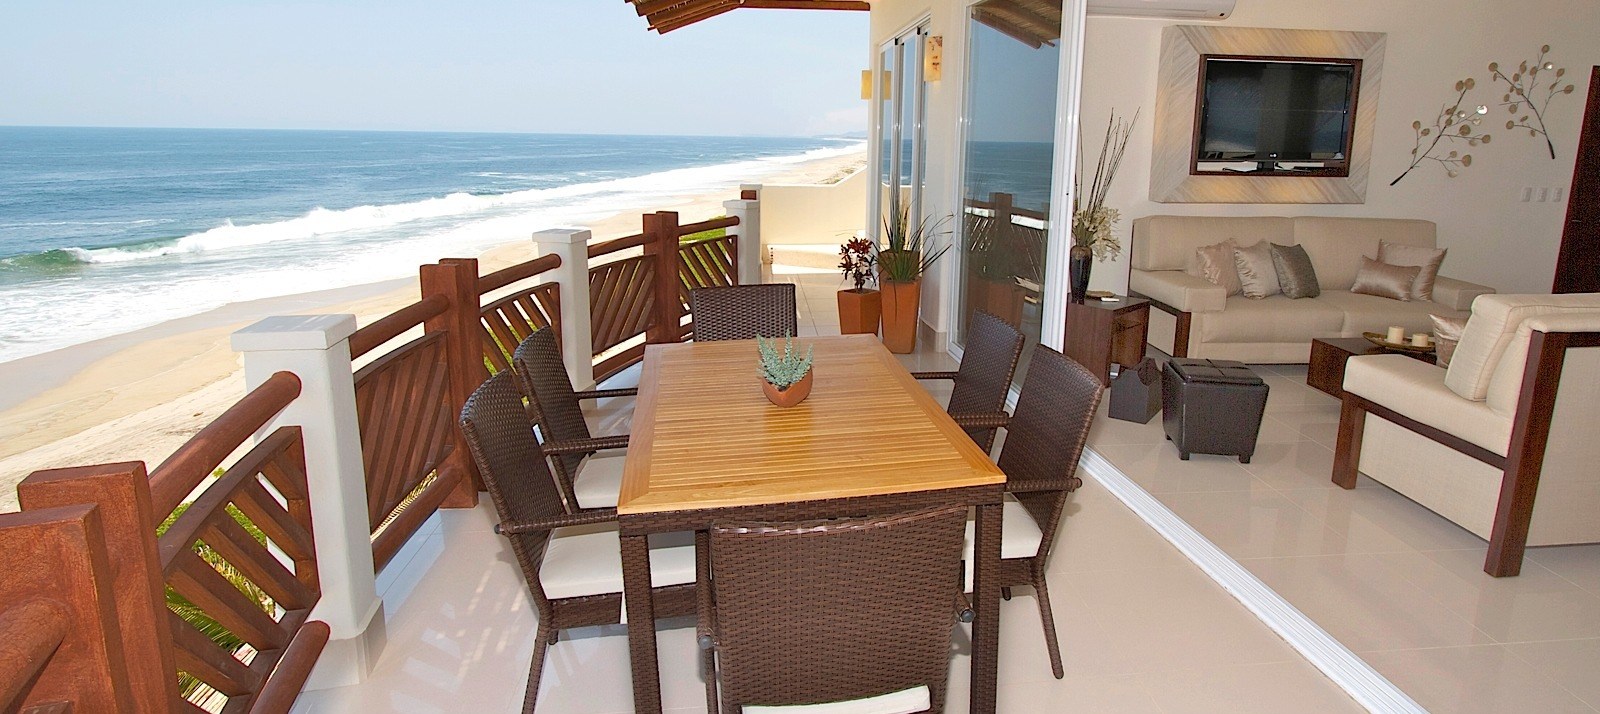
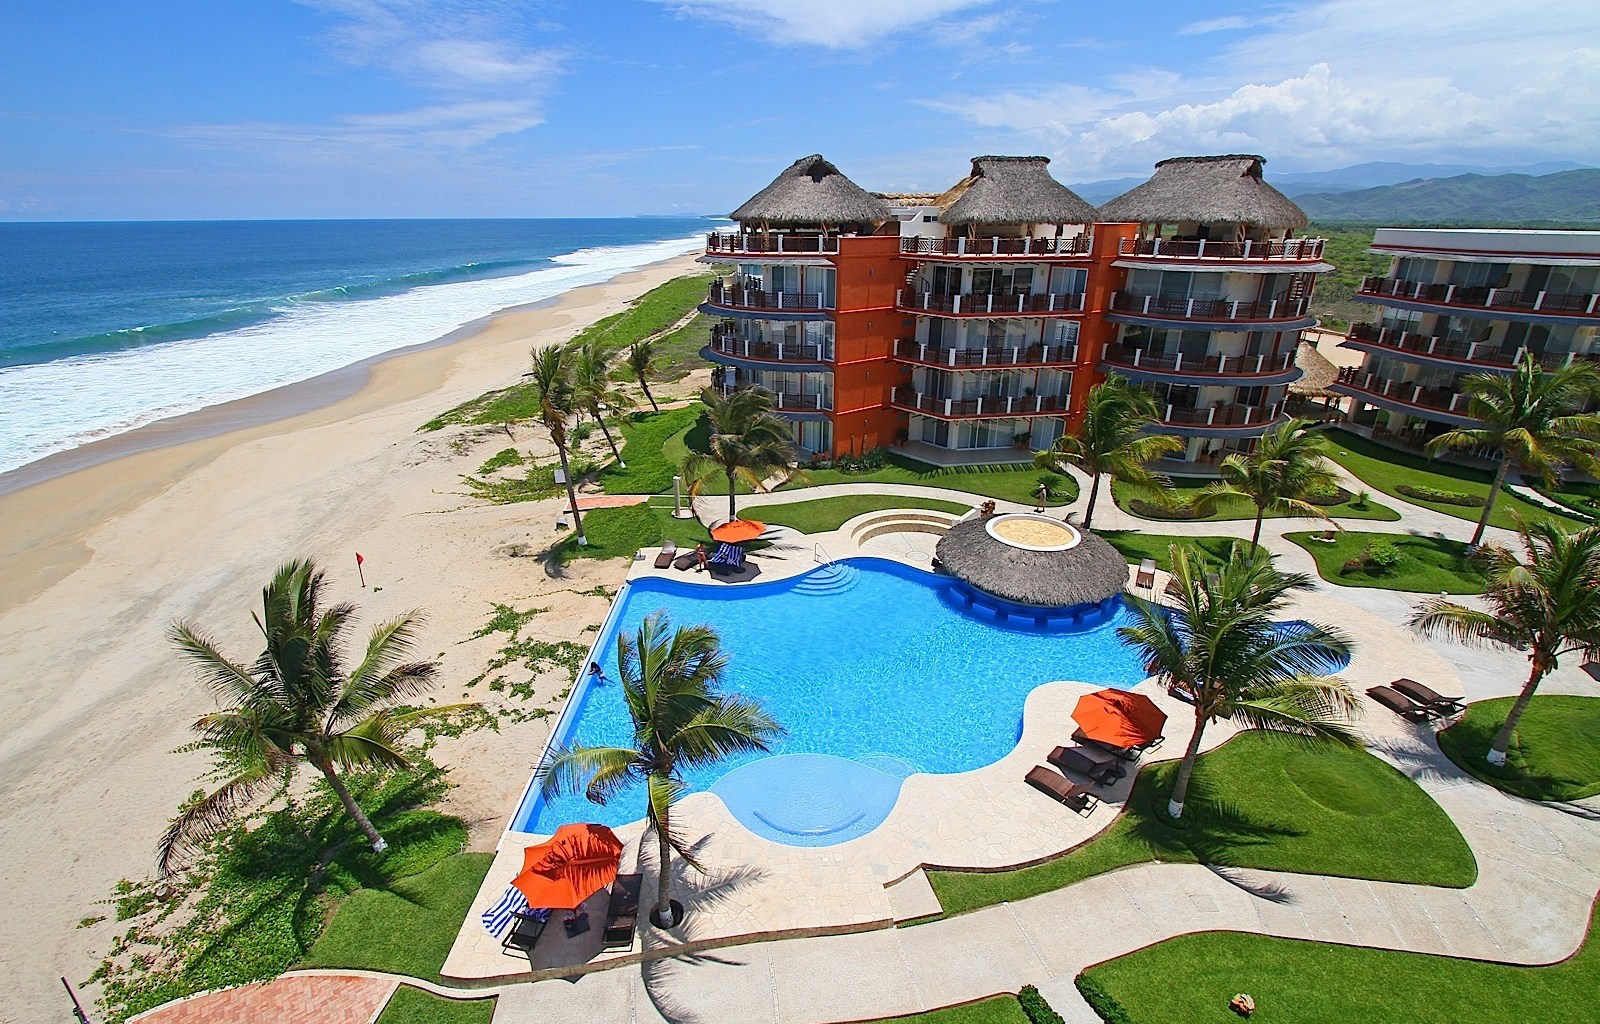
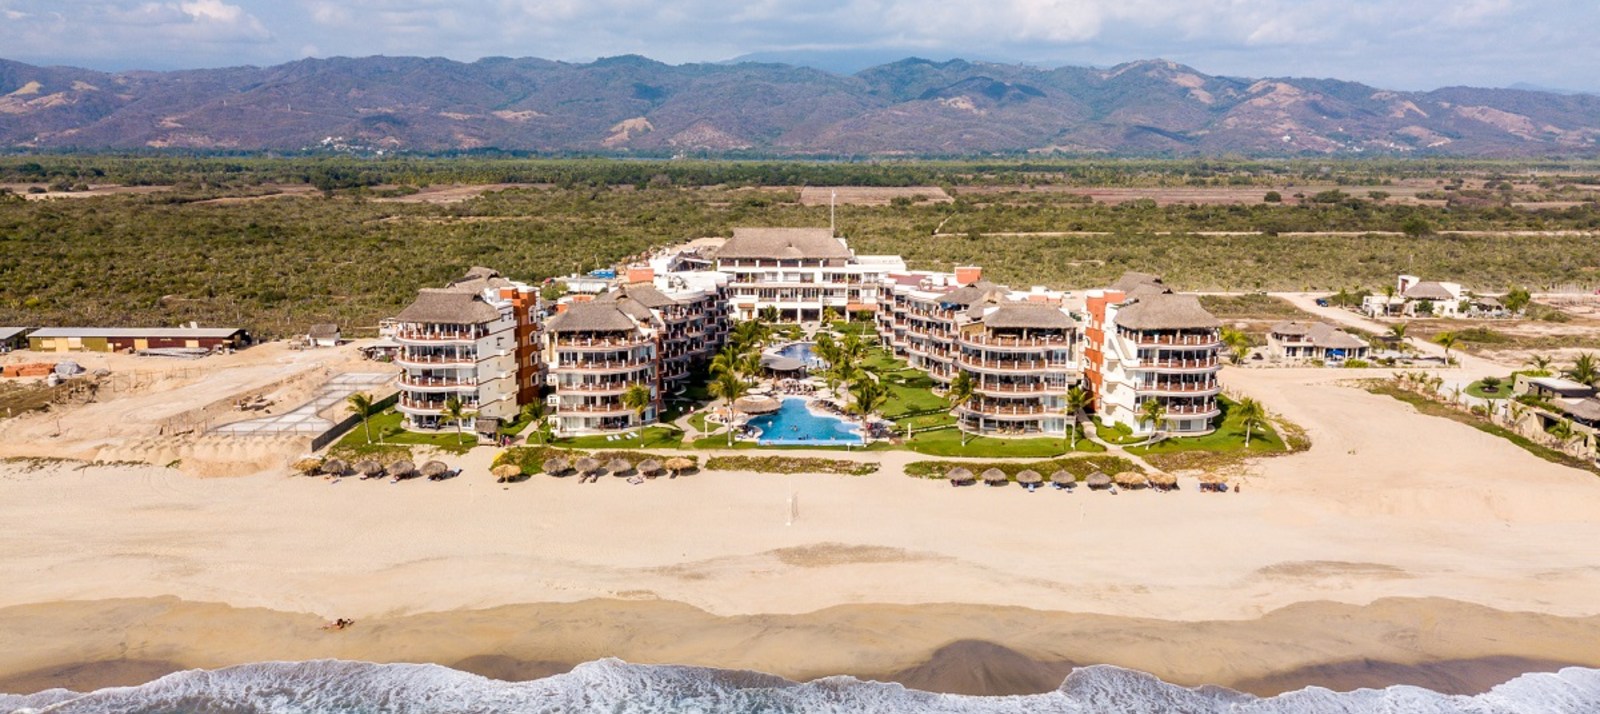
Playa Palmarito unfurls along Mexico's Oaxacan coast where the Pacific meets soft volcanic sand. Unlike busier stretches near Puerto Escondido's main break, this beach feels wide open, with a solitude that invites lingering. Travellers arriving from Sydney or Melbourne often compare it to a quieter stretch of Byron Bay at sunrise, only with warmer water and a foreign accent drifting from the kitchen. The resort's position at the southern end of the bay means guests step straight from their suite onto sand that hasn't been heavily picked over.
Shelling here is less about ticking off bucket lists and more about paying attention. The right tide, the right hour, and a little local knowledge turn a casual stroll into a small museum of the sea. Below is how to make the most of those barefoot mornings, including how to recognise a sand dollar when you spot one half-buried in the wet sand.
Why Playa Palmarito rewards patient shellers
Playa Palmarito sits within a stretch of coast known for consistent Pacific swells, which means the ocean is constantly sorting and depositing material. After a calm night, the morning tide line often glitters with fresh finds. For guests at Vivo Resorts, even a quick coffee on the terrace can turn into a shelling detour before breakfast.
The beach runs for kilometres in either direction. The northern end, near the river mouth, tends to gather heavier shells and driftwood, while the central section in front of the resort offers finer sand and the occasional sand dollar bed. Because Oaxacan families use parts of the beach for evening gatherings, early risers usually have the cleanest window. Aussies used to dawn surfs at Bondi or pre-work jogs through Coogee will find the timing natural.
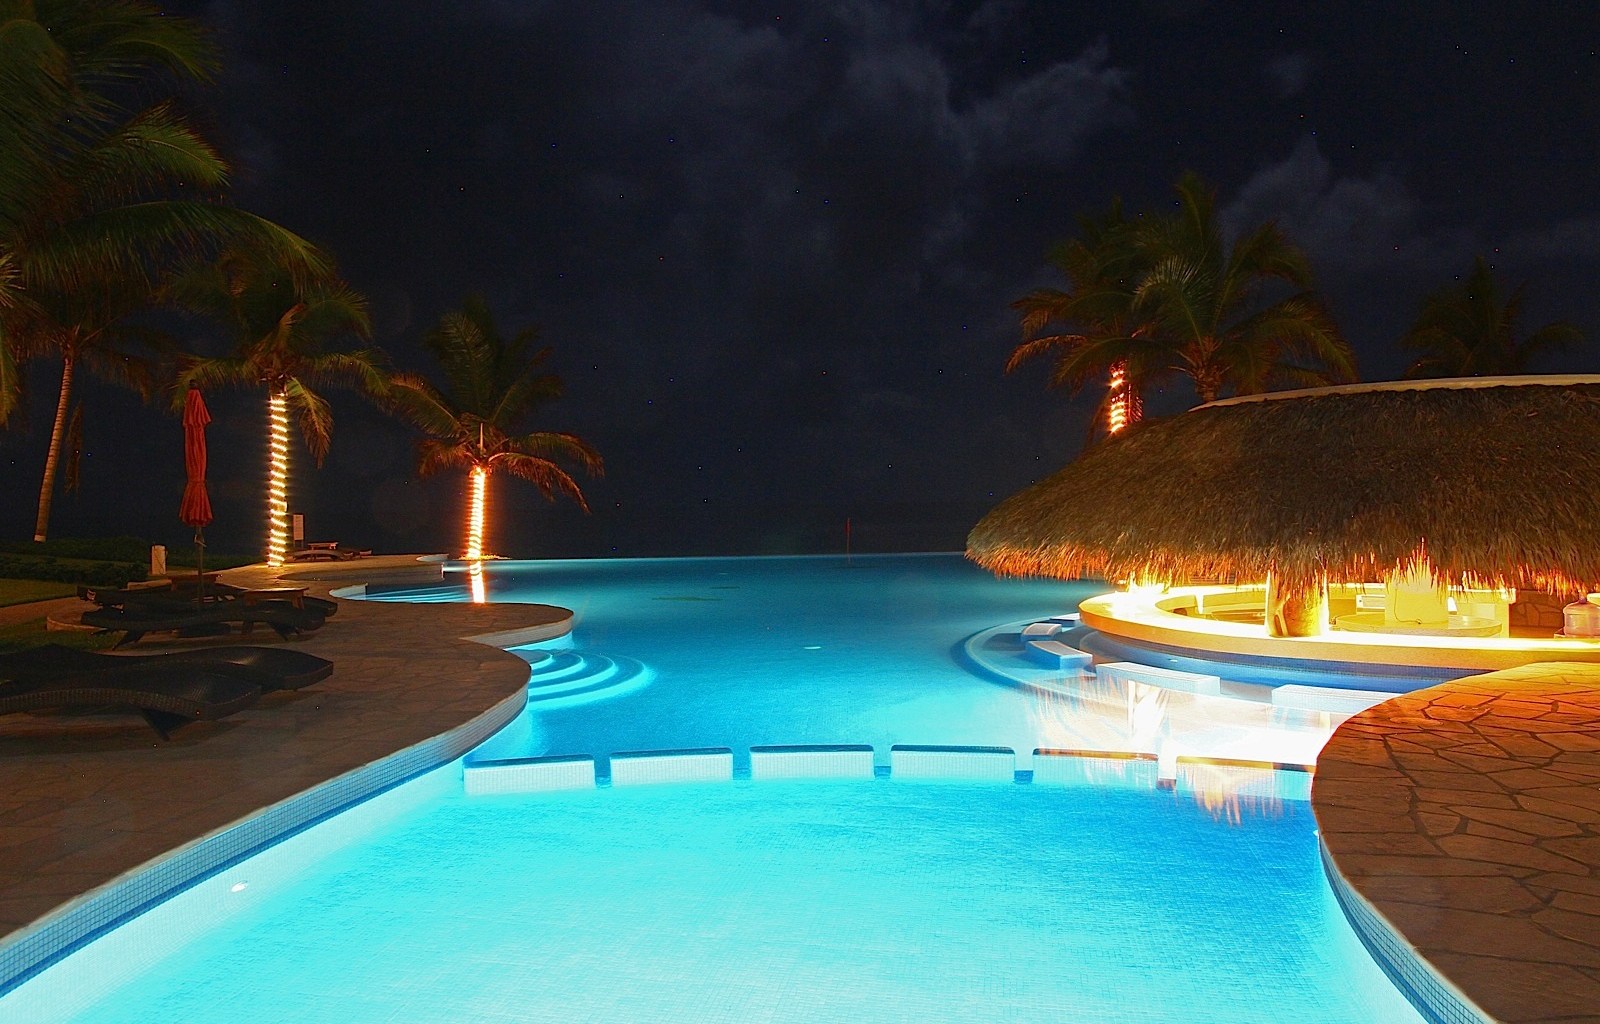
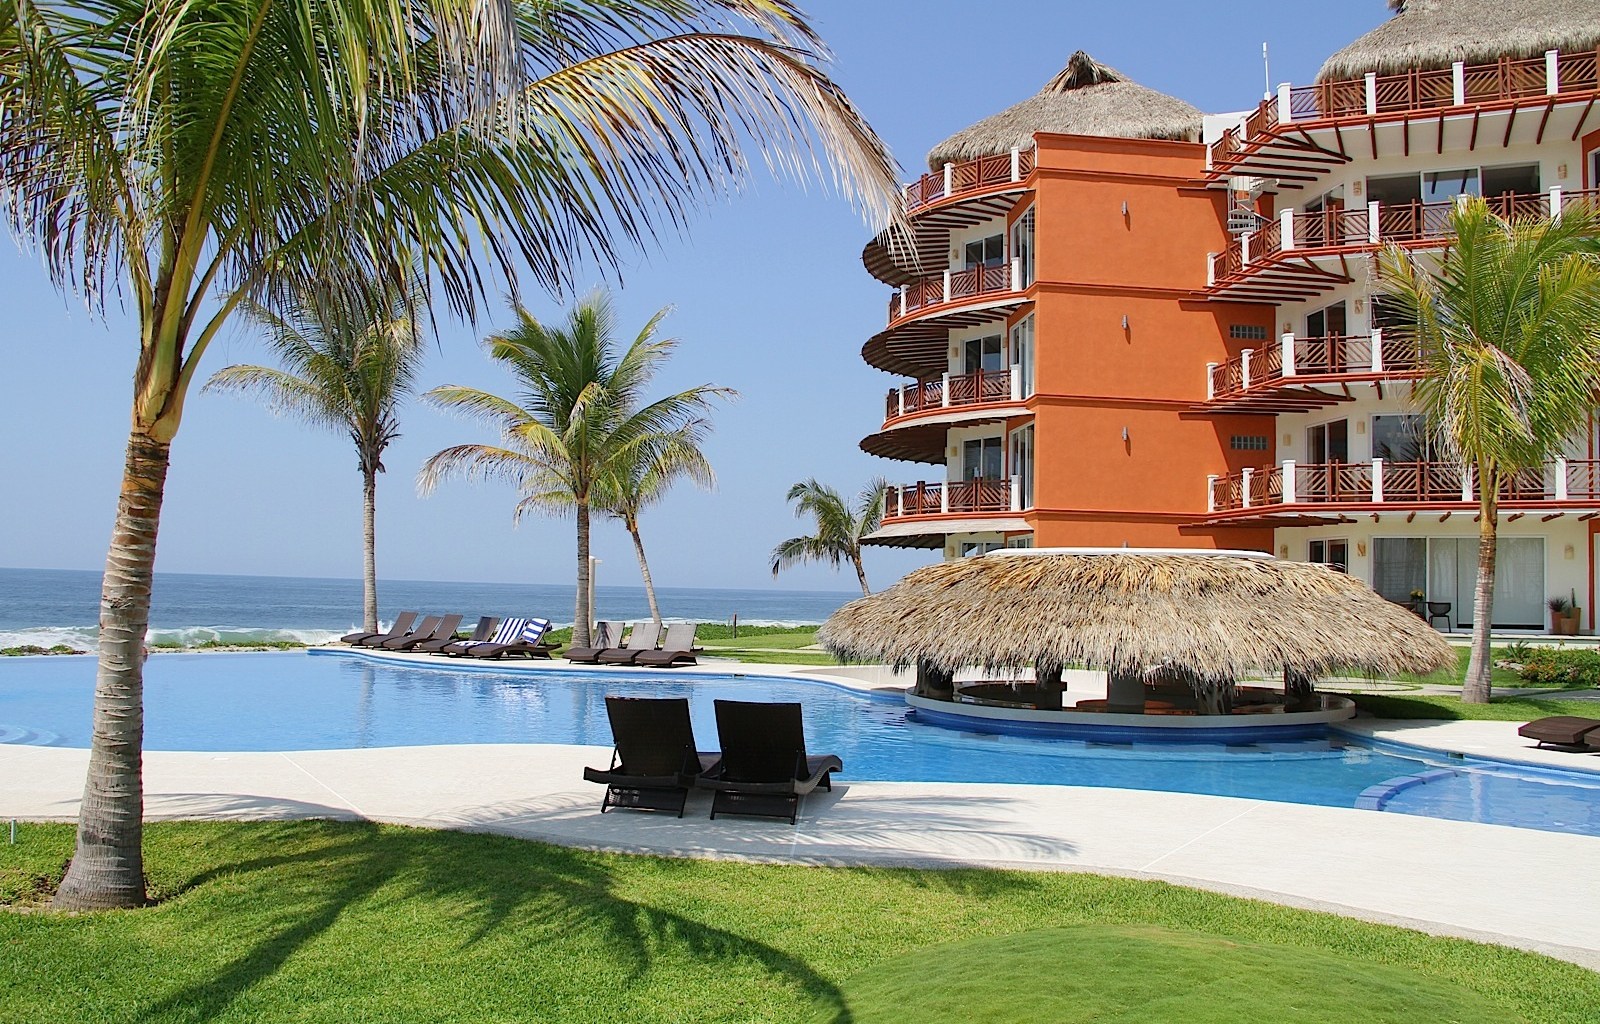
A walk-through of the behind the design architecture and decor of Vivo Resorts residences explains how the placement of pools and gardens was tuned to keep certain stretches calm enough for guests who prefer stiller water.
Timing the tides for the best haul
The single biggest factor in a successful hunt is the tide. Sand dollars tend to be deposited on the lower beach during a falling cycle, then partially reburied as the tide returns. Within an hour of low tide, walking the wet sand at the water's edge almost always yields the day's best finds. Most mornings see low tide somewhere between 6am and 9am during the dry season, lining up neatly with coffee service at the resort.
Season matters too. From November through April, the Pacific is calmer and shells arrive in better condition. May through September brings stronger swells that scatter older material but also deliver fresh specimens after storms. Travellers booking from Australia should note that our southern winter overlaps Mexico's calmer season, making a June-to-August escape a clever option for those chasing value and gentler seas. Many Aussie couples timing a winter escape around school holidays find this overlap ideal.
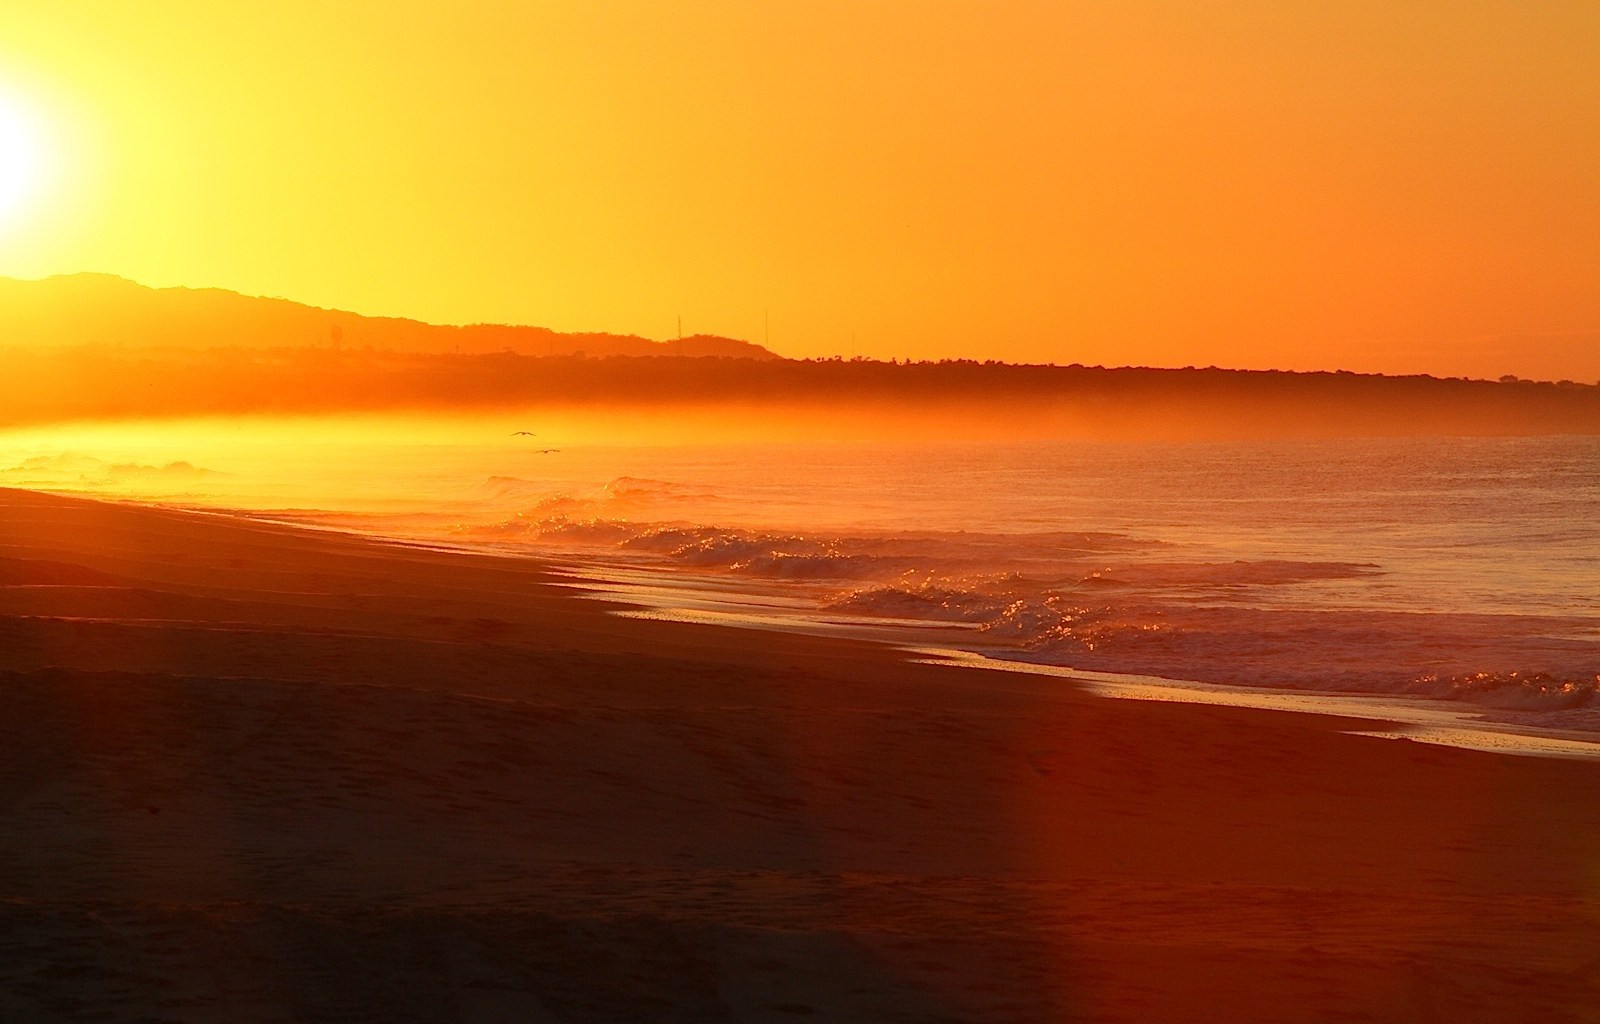
It's worth downloading a tide chart before you arrive, or asking the concierge to print one. The resort's sunset photography spots guide doubles as a useful orientation map, since many of the best vantage points sit at the ends of the beach.
Telling sand dollars from other beach finds
Sand dollars are easy to confuse at first glance, especially when they arrive bleached and pale from the sun. Living specimens are darker, often deep purple or grey, and may still feel slightly fuzzy on top. Dead and sun-dried ones turn chalky white and very fragile. Both are worth collecting, but handle fresh ones gently. Look for the five-pointed star pattern on the upper surface, which distinguishes a true sand dollar from a similar-looking flat shell.
Other common finds along Playa Palmarito include olive shells, ark shells, and the occasional wentletrap, which looks like a tiny white staircase. Scallop shells turn up regularly too, usually with one wing broken off by the surf. Aussies who combed rock pools at Merimbula or tidal flats around Roebuck Bay will recognise the patient rhythm required here. Bring a small cloth bag rather than a bucket, so shells don't clatter and chip.
If you're after sand dollars specifically, focus on the area twenty to a hundred metres from the water's edge, where they settle in clusters. Once you spot one, slow down and scan the same strip — there are almost always more nearby.
Walking technique and what to avoid
The best approach is slow and steady. Walk with the sun behind you when possible so the wet sand glints and shells catch the light. Stay near the swash zone — the strip where waves have just receded — rather than the dry sand higher up, where shells tend to be older and already picked over. Scan in a grid pattern; you'll spot more from peripheral vision than from a tight focus.
A few things to avoid: don't dig into the wet sand with your hands, as you'll miss the colour cues that make shells visible. Don't walk too close to rocks or reef patches, where live creatures often shelter. Don't take anything that still smells of the sea — it'll stink within a day in your suitcase. If you're shelling during a longer stay, consider timing the activity around a beachfront bachelorette weekend for a friend's milestone, which keeps the morning ritual social.
Polarised sunglasses cut glare on the wet sand, and a wide-brimmed hat is non-negotiable under the Oaxacan sun.
Bringing your finds home to Australia
Australian biosecurity is famously strict, and shells are no exception. The Department of Agriculture, Fisheries and Forestry requires that all sand and organic material be thoroughly cleaned from shells before they enter the country. Any shell with even a trace of tissue, mud, or seaweed will be confiscated at the border, so spend a quiet afternoon at the resort washing each piece, scrubbing the interiors, and leaving them to dry completely before packing.
For sand dollars, a gentle soak in dilute bleach followed by thorough rinsing helps whiten them and reduces odour, but the bleach must be completely flushed out and the shells fully dried. Pack them between layers of clothing in checked luggage rather than carry-on, and photograph any specimens you particularly love before the flight, in case anything is taken at the border for inspection. Most clean, dry shells pass through without trouble — it's the dirty ones that cause hold-ups.
Shelling morning checklist
- Check the day's low tide time the night before, then set an alarm an hour earlier than you think you need.
- Pack a small cloth or mesh bag, a wide-brimmed hat, polarised sunglasses, and reef-safe sunscreen.
- Walk the swash zone in a slow grid, scanning with peripheral vision rather than staring down.
- Look for clusters: one sand dollar usually means more within twenty metres.
- Rinse and scrub every shell before it goes anywhere near your luggage.
- Set aside any live specimens — admire them, photograph them, and leave them on the beach.
The next step is simple: ask the Vivo Resorts concierge for a printed tide chart the moment you arrive, then plan your first shelling walk for the morning after the lowest tide of your stay. From there, the beach will teach you the rest.